How to Get Stronger, Shinier Nails With 5 Easy DIY Soaks
I tried a few DIY nail soaks in the past and I swear my nails always feel like they came back from a vacation afterwards. Soft cuticles? Check. Less breakage? Check. And it took all of 10 minutes and a few random ingredients from the kitchen.
If you want nails that look healthy without dropping cash on serums you’ll forget to use, these easy soaks are low-effort and kind of addictive. Plus, they smell better than half the stuff at the salon.
- Nail soaks = low-cost, high-reward
- You only need stuff you probably already own (olive oil, milk, lemon…)
- Helps with nail strength, flexibility, hydration and growth
- 1–2x a week is the sweet spot — no need to overdo it
- Always moisturize after soaking to seal the deal
5 DIY Nail Soaks That’ll Make Your Nails Feel Like They Just Left the Spa
No salon. No fancy tools. Just stuff from your kitchen and a few minutes of chill time. These DIY nail soaks are easy to make, surprisingly effective and give your nails that fresh, healthy look without booking an appointment.
Lemon Soak: Brighten + Strengthen in One Step
Great for: stained nails, dullness, brittle tips
Why it works: Lemon juice is rich in vitamin C and citric acid — it gently exfoliates, helps fade stains from dark polish and gives your nails a natural glow-up. It also boosts collagen, which = stronger growth over time.
How to:
- Squeeze the juice of ½ a lemon into a bowl
- Add 1–2 tbsp warm water to dilute slightly
- Soak fingertips for 5–7 minutes
- Rinse, pat dry and follow with cuticle oil or hand cream
Do this nail soak once a week max — lemon is potent and too much can dry you out. Think quick refresh, not deep soak.
Olive Oil Soak: The Dry Nail Fix
Great for: brittle nails, peeling, rough cuticles
Why it works: Olive oil is packed with vitamin E and healthy fats — basically a tall drink of water for your nails. It softens, strengthens, and helps lock in moisture long after you’re done soaking.
How to:
- Warm 2 tbsp olive oil (just slightly — no need to fry your fingers)
- Pour into a small bowl
- Soak your fingertips for 10–15 minutes
- Massage the oil into nails and cuticles before rinsing or leave it on overnight with gloves
Do this a couple times a week if your nails are feeling dry or post-gel sad. It’s simple but kind of magical.
Milk + Honey Soak: Soft Girl Energy for Your Nails
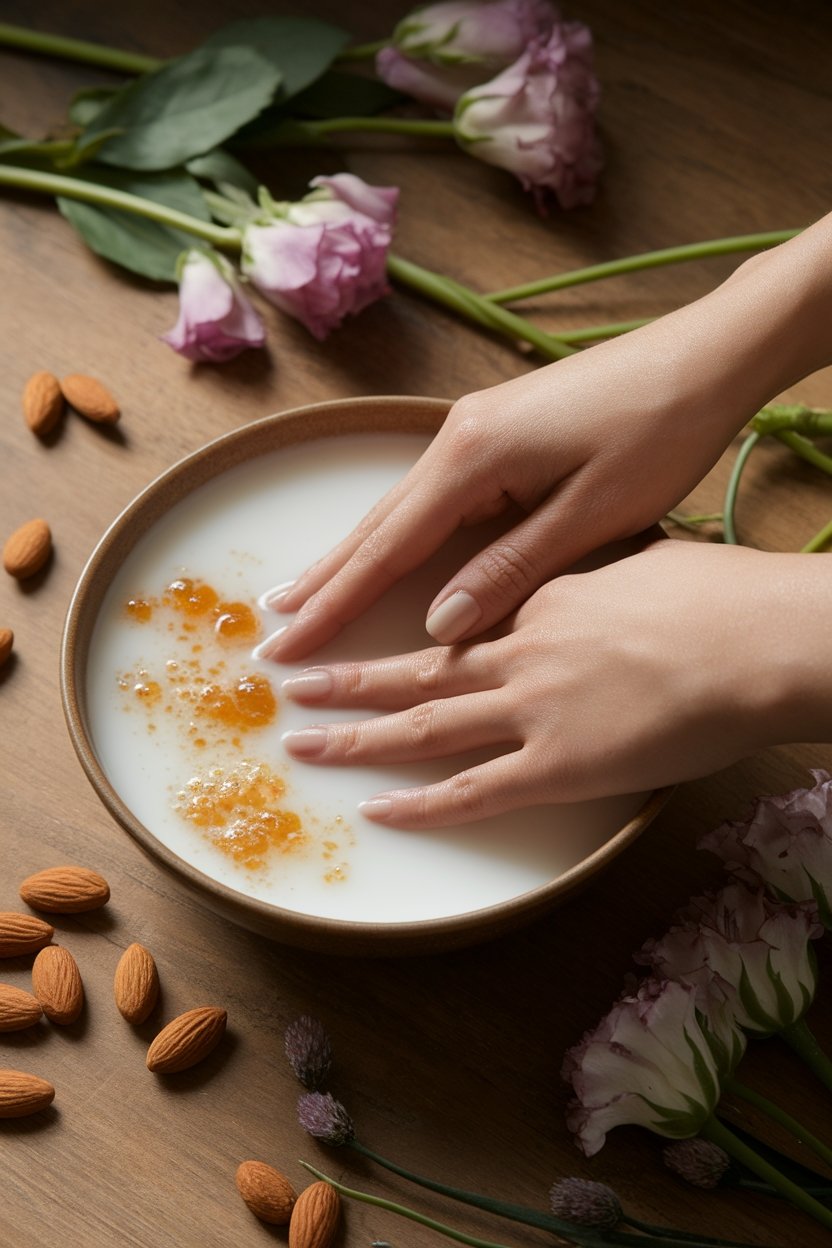
Great for: dry nails, post-mani recovery, overall TLC
Why it works: Milk is full of calcium and protein, honey pulls in moisture and seals it in. Together? They turn your nails from dry and dull to soft, strong and lowkey glowing. Bonus: it smells like a cozy café.
How to:
- Warm ¼ cup milk (any kind works — dairy, oat, almond, your choice)
- Stir in 1 tsp honey until fully mixed
- Soak fingertips for 10–15 minutes
- Rinse, pat dry and follow with your fave cuticle oil
This one’s perfect after a polish binge or when your nails just feel tired. Like a little dessert moment… for your hands.
Coconut Oil Massage: The Lazy-Girl Soak

Great for: nightly nail repair, damaged cuticles, hydration without the mess
Why it works: Coconut oil is rich in fatty acids and antioxidants, plus it’s naturally antifungal — so it hydrates, strengthens and keeps nail nasties away. And since it’s a massage, you don’t even need to sit still.
How to:
- Warm 1–2 tsp coconut oil until just melted
- Massage into nails and cuticles for 2–3 minutes
- Leave it on (overnight if you can) — wear cotton gloves if you’re feeling extra
Perfect if you hate the idea of soaking but still want the results. It’s quick, calming and lowkey addictive once you start doing it before bed.
Apple Cider Vinegar Soak: Growth + Reset
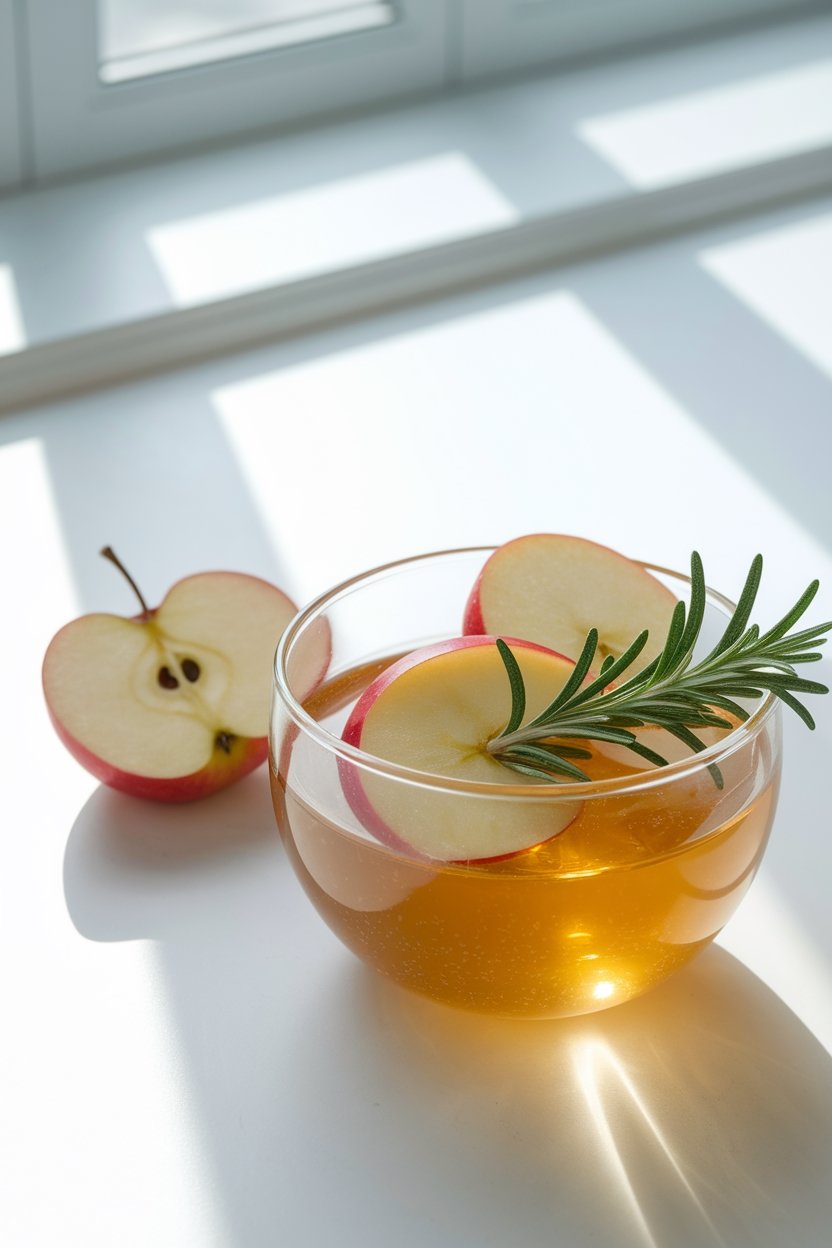
Great for: soft, peeling nails or post-gel damage recovery
Why it works: ACV helps balance your nail’s pH, clears up minor fungus, and strengthens weak, bendy nails. It’s like a little detox soak for your fingertips — without the overpriced wellness vibes.
How to:
- Mix 1 part apple cider vinegar with 2 parts warm water
- Soak nails for 10–15 minutes
- Rinse, dry and always follow with moisturizer or oil
Use this one once a week — it’s gentle but mighty. And yep, it kinda smells like salad dressing… but your nails will forgive you.
Nail Soak FAQs
How often should I do these soaks?
Once or twice a week is perfect. Don’t overdo it — your nails need love, not a full-time job.
Can these help with nail biting?
Yep. When your nails look and feel better, you’re way less likely to chew them. Bonus: the soaking ritual helps calm anxious energy too.
Do I need to use organic ingredients?
Nope. Use what you’ve got. Just make sure it’s fresh and not something expired from the back of your pantry.
Can I mix soak recipes together?
If you know what your nails need, you can mix — like lemon and olive oil for strength + moisture. Just avoid anything too harsh (don’t mix acid-heavy with acid-heavy).
What should I do after soaking?
Always follow with a good moisturizer or cuticle oil to seal in hydration. Your nails will soak up all that goodness — don’t skip it.
Let Your Nails Soak Up the Love
So there you have it — five DIY soaks that are easy, budget-friendly and actually work. Whether your nails are peeling, dry, or just need a little glow-up, these at-home treatments are a game changer.
You don’t need fancy tools or salon appointments. Just a bowl, a few pantry staples and ten quiet minutes. Pick the one that fits your vibe (or rotate through them) and watch your nails start feeling stronger, smoother and way more cared for.
Spa day? More like kitchen sink glow-up. Your nails are gonna love it.