Red and green Christmas nails can be both classy and playful, just like holiday parties that swing from elegant to downright silly.
I love how these festive colors bring out creativity, regardless of whether you’re going for candy cane stripes or glittery Christmas tree tips. What I find even more fun is mixing in some cute accents, like holly leaves or snowflakes…
But there’s so much more to explore, and I can’t wait to share my favorite designs with you!
- Use a red base coat and add green accents for a classic Christmas color combination on your nails.
- Incorporate festive designs like reindeer silhouettes or holly leaves using green and red polish for added holiday cheer.
- Experiment with glittery Christmas tree tips by applying green polish with gold or silver glitter for a sparkling effect.
- Create a candy cane stripes design by using tape to apply diagonal red and white stripes, finished with a glitter top coat.
- Consider using a top coat to seal your designs and enhance their shine and durability throughout the holiday season.
Red and Green Christmas Nails
The holiday season is the perfect time to let your creativity shine, right down to the tips of your fingers! Whether you love classic red and green combos or whimsical winter motifs, these festive nail designs are sure to bring joy and sparkle to your look.
Ready to dive in? Let’s get those nails holiday-party ready with easy, step-by-step guides for each cozy, fun and oh-so-charming style!
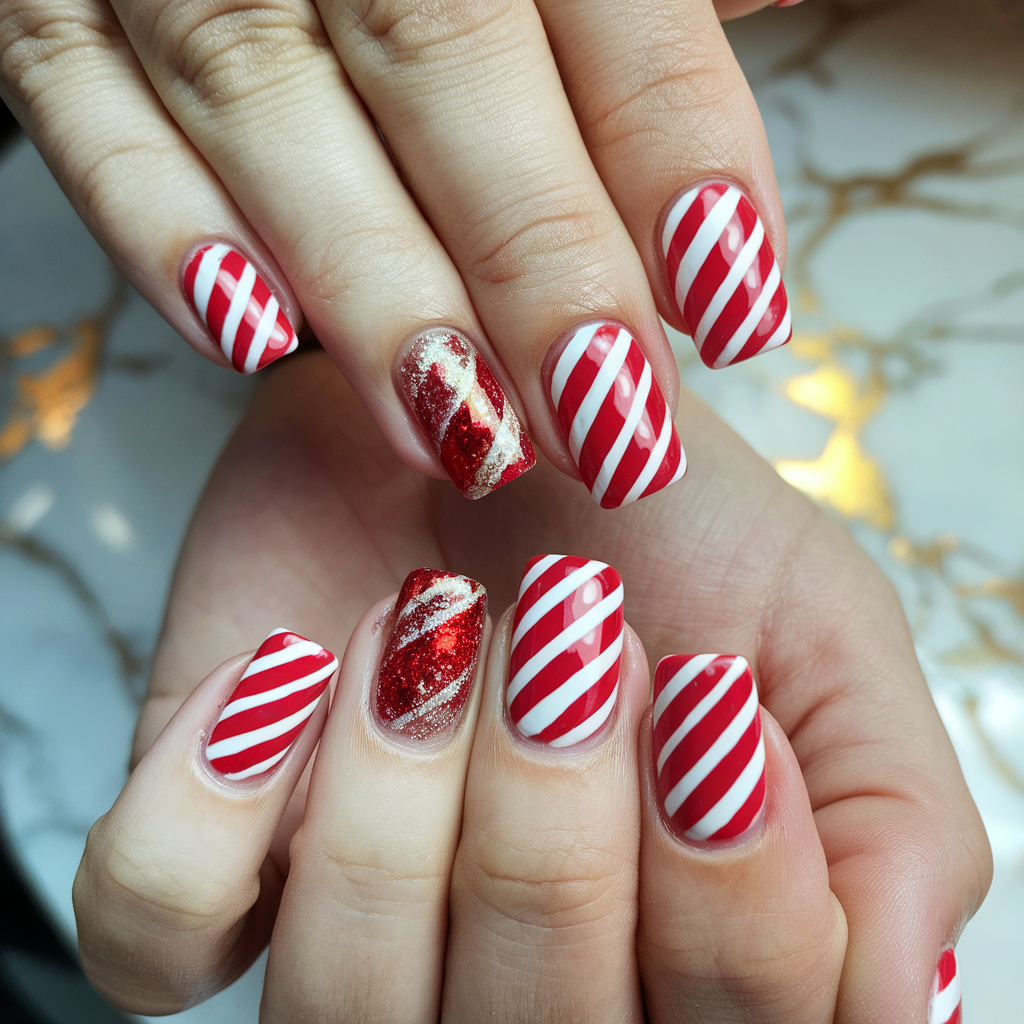
Candy Cane Stripes Design
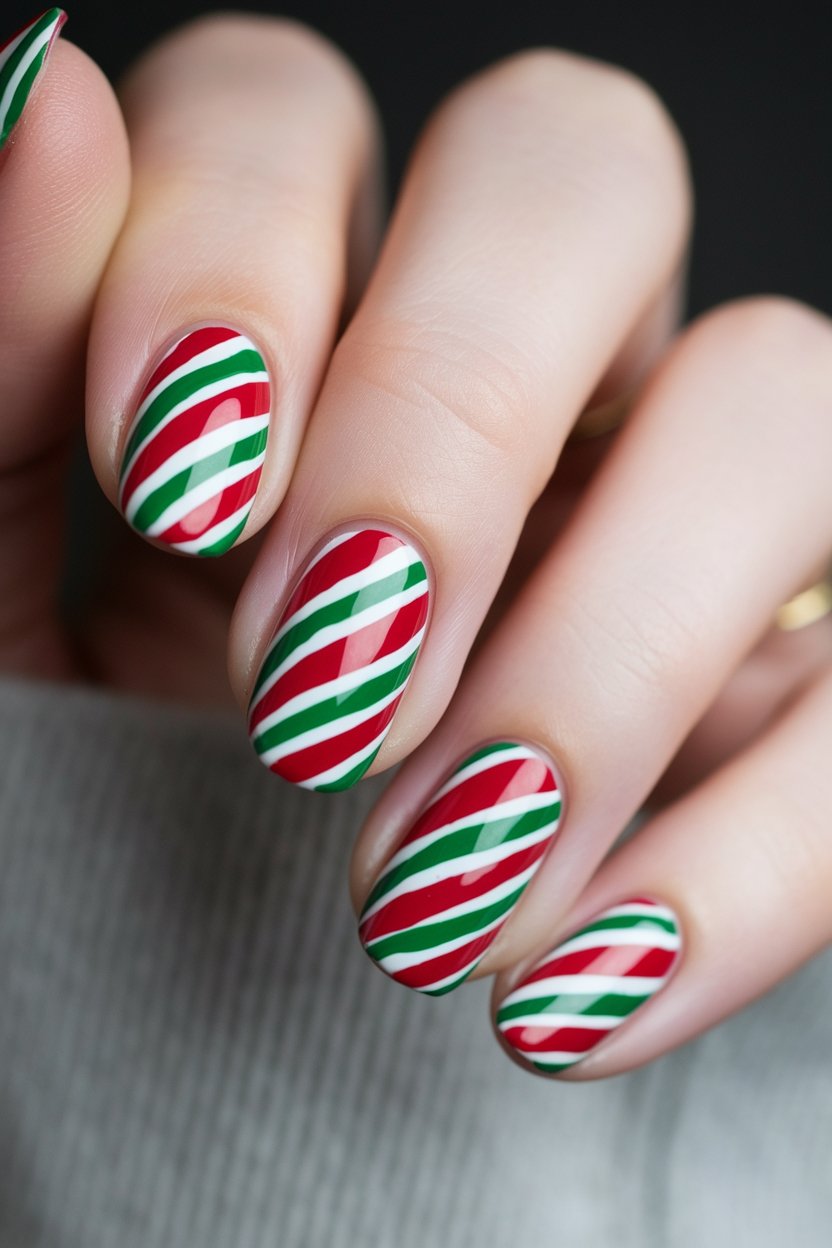
Red Nail Polish | White Nail Polish | Nail Striping Tape
How to Create This Look:
- Start with a base coat to protect your nails.
- Apply two coats of white nail polish and let it dry fully.
- Use striping tape to mark off diagonal stripes.
- Paint over the exposed areas with red polish.
- Remove the tape carefully before the polish dries to get crisp lines.
- In between the red lines add a thinner green line with a fine brush.
- Optional: Add a glitter top coat for that classic candy sparkle.
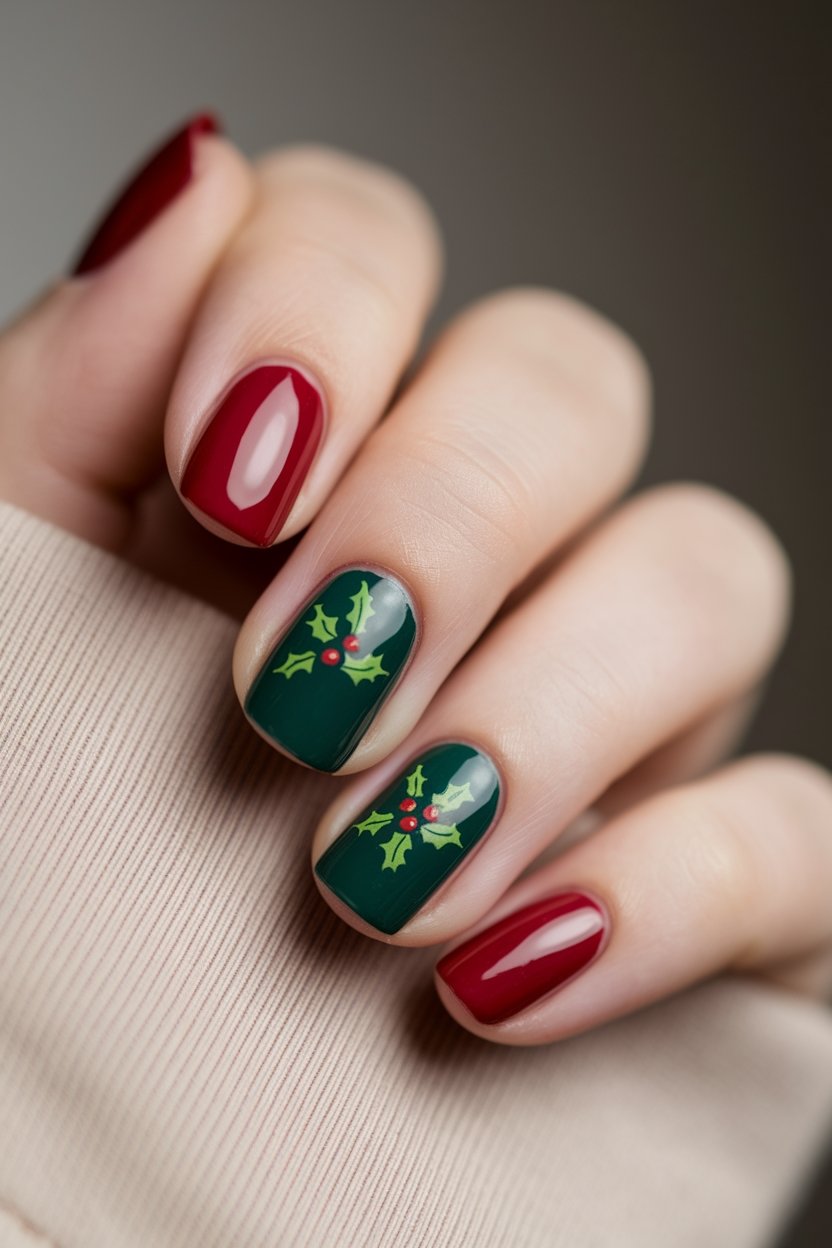
Holly Leaf Accents
Green Nail Polish | Red Nail Polish | Dotting Tool | Top Coat
How to Create This Look:
- Begin with a base coat.
- Apply two coats of green polish.
- Use a dotting tool to add red berries.
- Draw holly leaves using a nail art brush or toothpick.
- Seal with a glossy top coat.
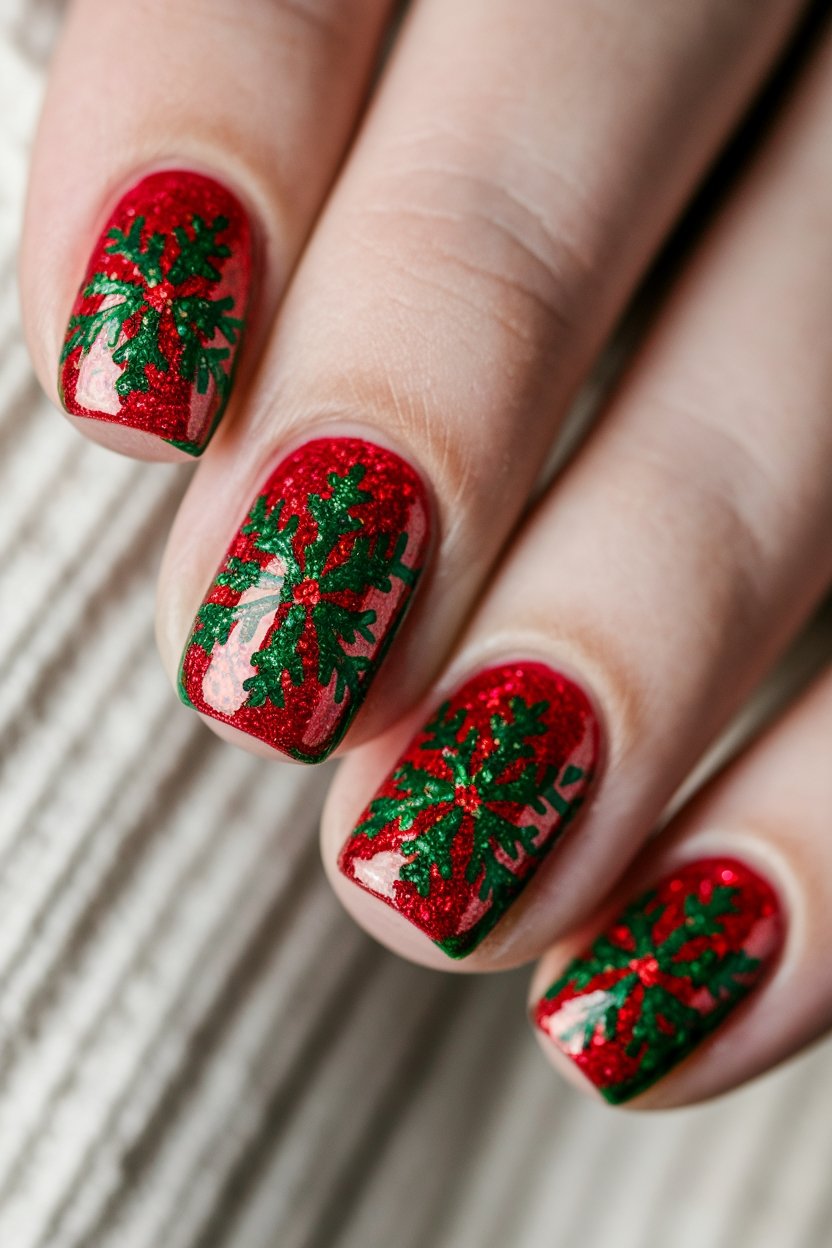
Glittery Christmas Tree Tips

Green Glitter Polish | Red Nail Polish | Gold Glitter Polish | Top Coat
How to Create This Look:
- Apply a red base and let it dry fully.
- Use green glitter polish to paint Christmas tree shapes on the tips.
- Add gold glitter for sparkle.
- Finish with a clear top coat.
Snowflake Nail Art
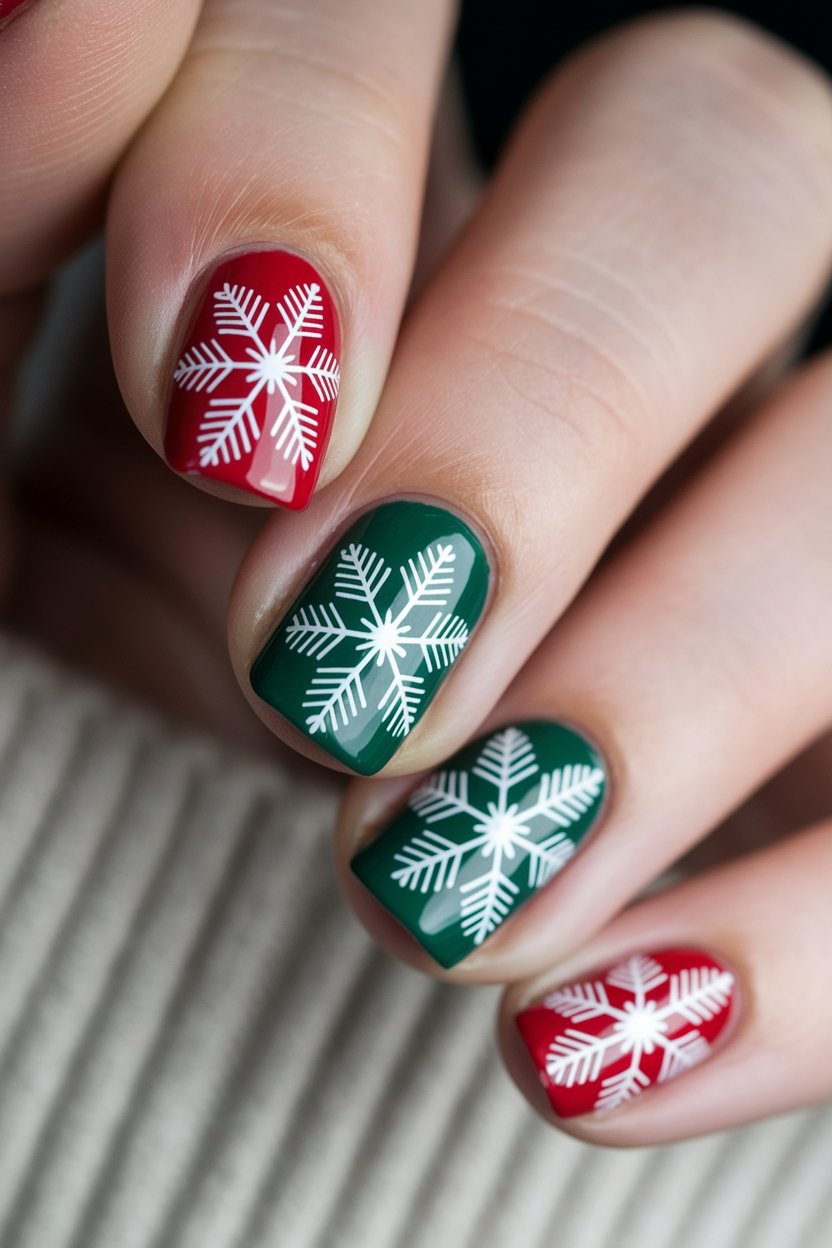
Red Nail Polish | Green Nail Polish | White Nail Polish | Snowflake Nail Stickers | Dotting Tool | Clear Top Coat
How to Create This Look:
- Base coat on all nails.
- Paint nails alternating red and green.
- Once dry, add snowflake stickers.
- Optional: Use a dotting tool to add tiny glitter dots in the centers.
- Seal with a clear top coat.
Festive Ornament Nail Designs

Red Nail Polish | Green Nail Polish
How to Create This Look:
- Start with a clean and filed set of nails.
- Apply a base coat to protect your nails.
- Choose a base color (red or green) and apply two coats, letting each dry completely.
- Use a thin brush or a dotting tool to create ornament shapes in contrasting colors (e.g., gold or silver).
- Add glitter polish to give your ornaments that extra sparkle.
- Finish with a top coat for shine and to seal your design.
- Let your nails dry completely, and show off your festive manicure!
Reindeer Silhouette Design
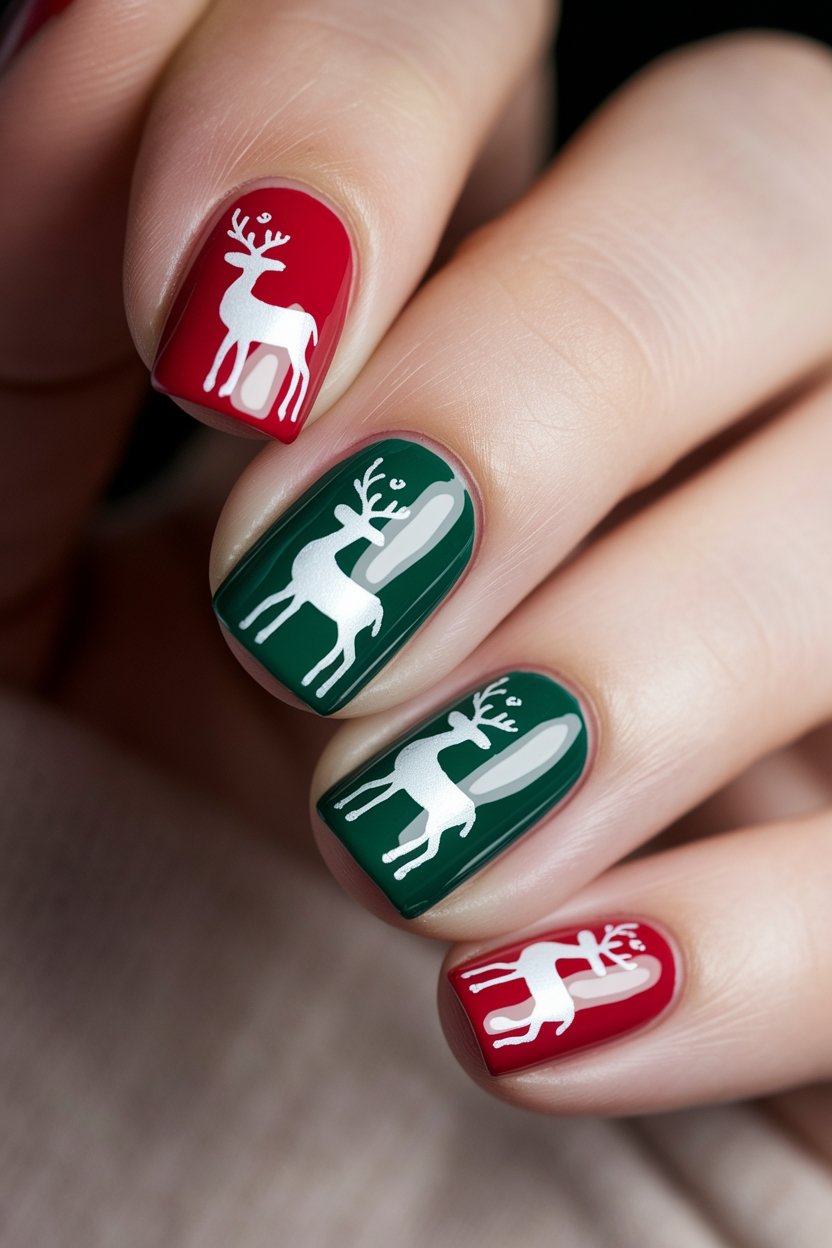
Red Nail Polish | Green Nail Polish | Reindeer Nail Decals | Clear Top Coat
How to Create This Look:
- Paint nails either red or green—your choice!
- Once completely dry, stick on reindeer decals.
- Gently press down to remove air bubbles.
- Seal everything with a clear top coat.
Glistening Snowy Landscape Design
Sparkly Red Glitter Polish | Shiny Top Coat
How to Create This Look:
- Begin with a red base coat for a sparkly foundation.
- Use green snowflake decals for that wintery touch.
- Apply a shiny top coat to seal in your design and enhance the glistening effect.
- Sprinkle some sparkly glitter on top for added magic and dimension!
Glistening Red Glitter Ombre
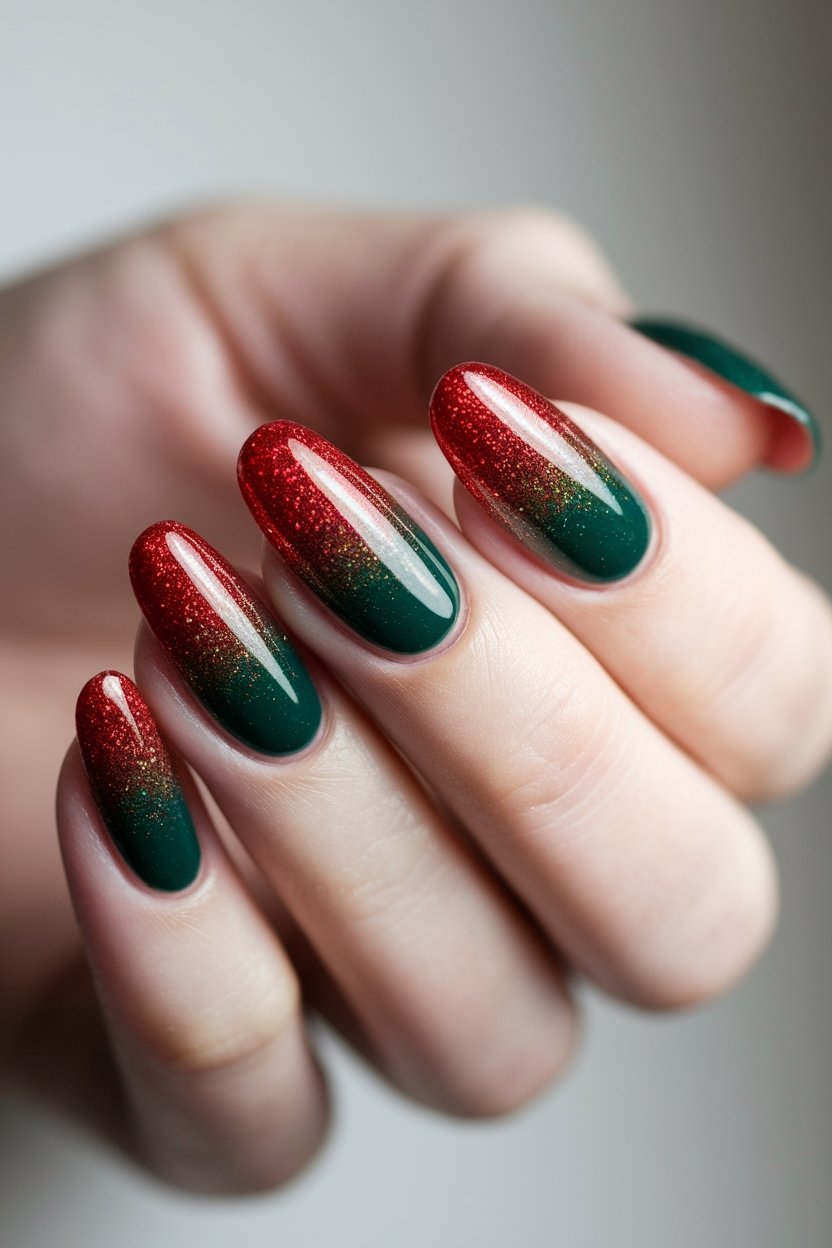
Red Glitter Nail Polish | Bold Green Nail Polish | Sparkling Glitter Nail Polish
How to Create This Look:
- Start with a clean and dry nail surface. Apply a base coat to protect your nails.
- Paint the base of your nails with a bold green polish, making sure to cover the entire nail evenly.
- Gently dab a sponge into a sparkling red glitter polish.
- Lightly press the sponge onto the tips of your nails, gradually fading the glitter towards the center for an ombre effect.
- Allow the nails to dry completely, then finish with a top coat to seal the look and add shine. Enjoy your festive masterpiece!
Pinecone Accent Nail Design
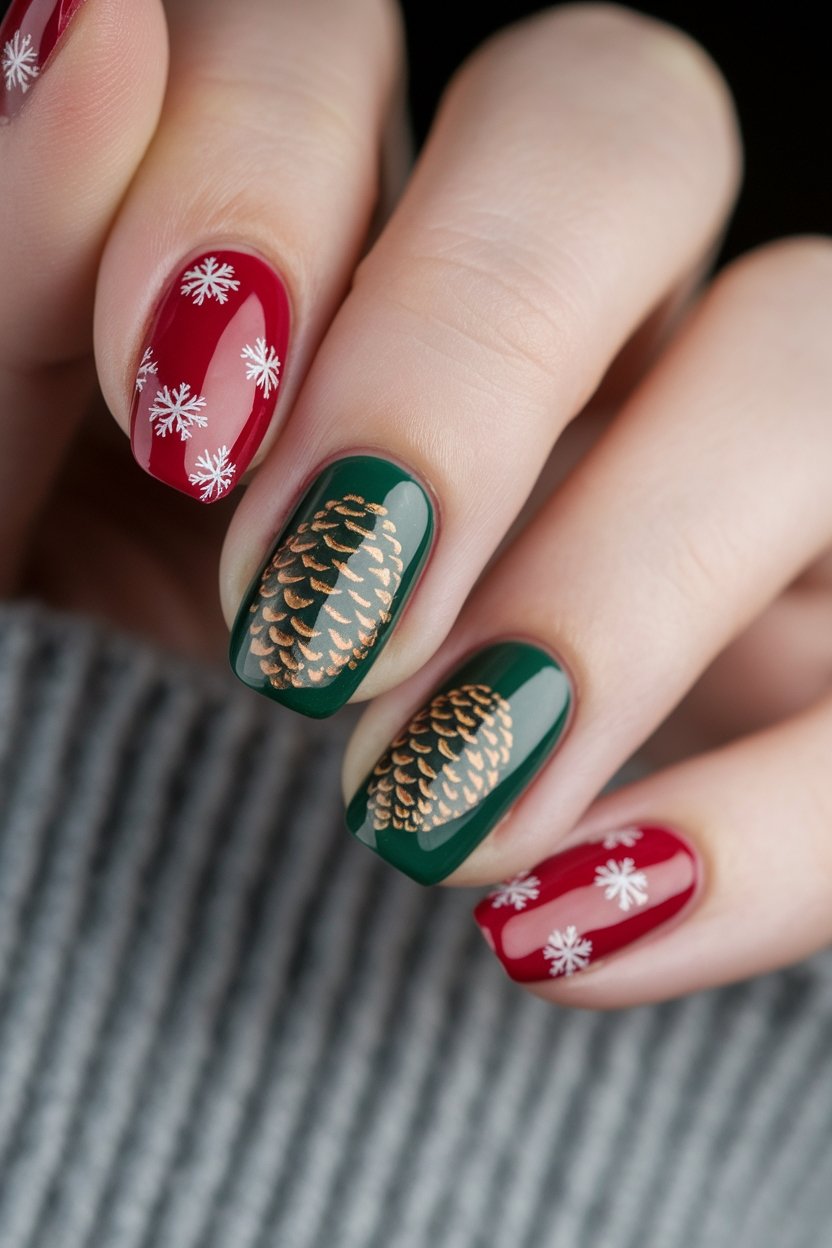
Green Base Coat | Brown Nail Polish | Gold Nail Polish
How to Create This Look:
- Start by applying a neutral or rich green base coat to your nails.
- Once dry, take a fine brush and carefully paint the pinecone details using brown polish.
- For a festive touch, add some gold glitter over the pinecones for sparkle.
- Finally, seal your design with a clear top coat to protect your artwork.
Christmas Light Nail Art
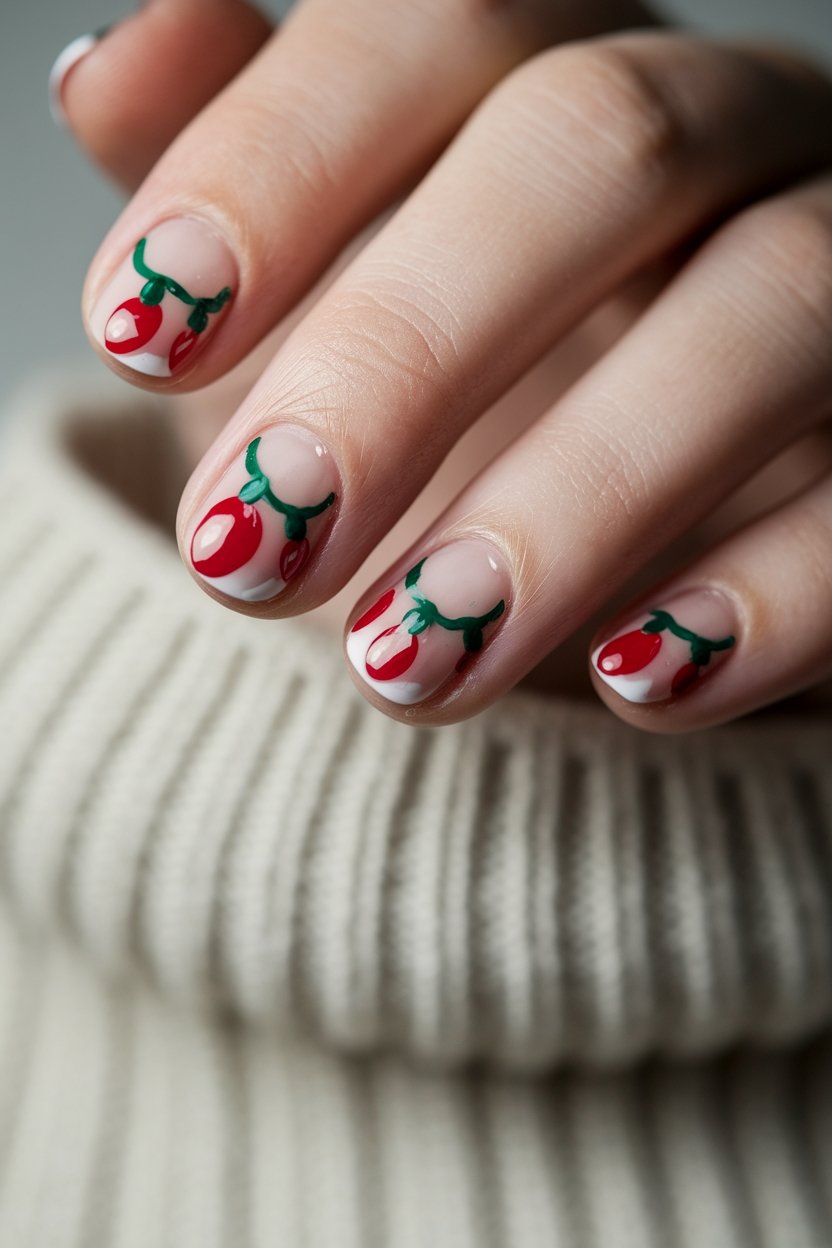
Red Nail Polish | Green Nail Polish | Nude Nail Polish
How to Create This Look:
- Start with a clear base coat to protect your nails and set a smooth canvas.
- Paint a French tip with white polish on each nail, leaving the rest of the nail natural.
- Using red nail polish and a fine brush or dotting tool, paint small Christmas light bulbs along the white tips.
- Add green lines to connect the bulbs, mimicking the wire of a string of lights.
- Once dry, apply a shiny top coat to seal your design and add a festive gleam.
Snowman Face Nail Art

White Nail Polish | Black Nail Polish | Red Nail Polish | Top Coat
How to Create This Look:
- Apply a base coat to keep your nails healthy and polished.
- Paint all your nails with a bright red polish except the ring and middle fingers, which should be painted white.
- Use a fine nail art brush or dotting tool to create two snowmen faces—add black dots for eyes and buttons, an orange triangle for the carrot nose, and a curved smile.
- On the other nails, paint white snowflakes and dots for a snowy effect.
- Add a little black and red hat detail on the snowman nails with a fine brush.
- Seal everything with a clear top coat to keep your winter wonderland nails shining bright!
Christmas Sweater Pattern Design
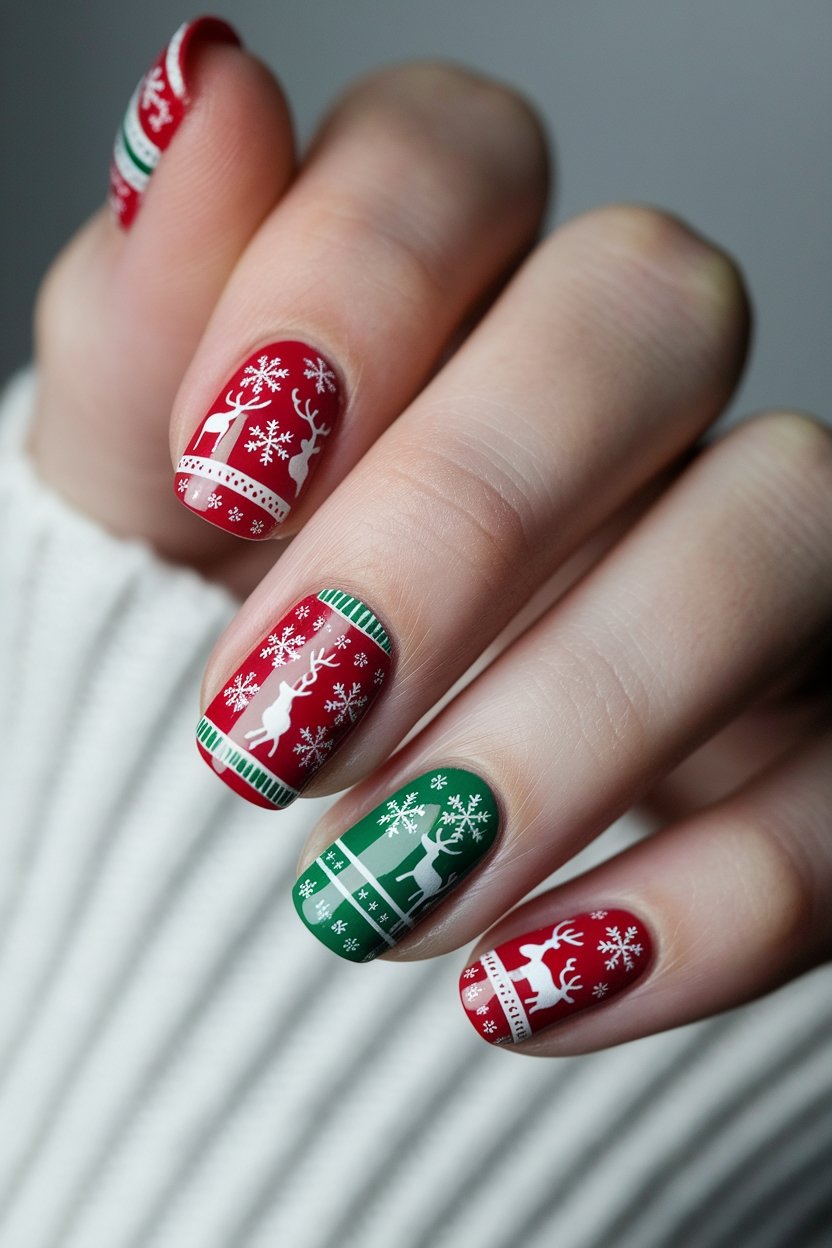
Red Nail Polish | White Nail Polish | Sweater Nail Stamp
How to Create This Look:
- Begin with a clear base coat to protect your nails and ensure a smooth finish.
- Paint your nails with two coats of red polish on all nails except the ring finger, which gets green polish. Let dry completely.
- Use a white Christmas-themed nail stamping plate and a stamper to pick up the reindeer and snowflake designs.
- Carefully stamp the white designs onto each nail, aligning them nicely to mimic a cozy sweater pattern.
- For extra festive flair, add thin green stripes or accents around the edges of the stamped areas using a fine brush.
- Finish with a glossy top coat to seal the design and add a holiday-ready shine!
Festive Wreath Nail Art

Green Nail Polish | Red Nail Polish | Nude Nail Polish
How to Create This Look:
- Start by applying a green base coat to all your nails.
- Once dry, take a small brush and carefully paint a circular wreath shape on your nails.
- Add tiny red dots around the wreath to represent festive berries.
- Finish off with a glossy top coat for a beautiful shine!
Gold Star Accents

Gold Shimmer Nail Polish | Red Nail Polish | Green Nail Polish
How to Create This Look:
- Apply a base coat to protect your nails.
- Paint alternating nails with deep red and rich forest green polish, applying two coats for opacity.
- Once dry, use a thin brush or gold star decals to add stars on each nail.
- Seal your design with a shiny top coat to make those stars gleam beautifully.
Frosted Gingerbread Man Accents

Warm Brown Nail Polish | White Nail Polish | Top Coat
How to Create This Look:
- Start with a base coat for protection.
- Paint your nails alternating between red and green polish.
- Use a fine brush or nail art pen to draw cute gingerbread men on each nail—outline in white, fill with brown, and add colorful buttons and smiles.
- Let dry, then finish with a top coat to keep your gingerbread friends looking festive and fresh.
Festive Striped Candy Cane Nails
How to Create This Look:
- Apply a base coat to prep your nails.
- Paint your nails white and let them dry completely.
- Use striping tape to create diagonal stripes on each nail.
- Paint over the exposed areas with red polish and carefully remove the tape to reveal crisp candy cane stripes.
- For extra sparkle, add a glitter polish accent nail or lightly brush glitter over some stripes.
- Seal everything with a top coat to add shine and durability.
Red And Green Christmas Nail Designs
Red and green Christmas nails are like little gifts for your fingers, spreading joy just like the twinkling lights on a tree.
Remember, it’s not just about the colors, it’s about the spirit they bring! So, grab your polish and let your creativity shine, because who doesn’t love a bit of festive flair?